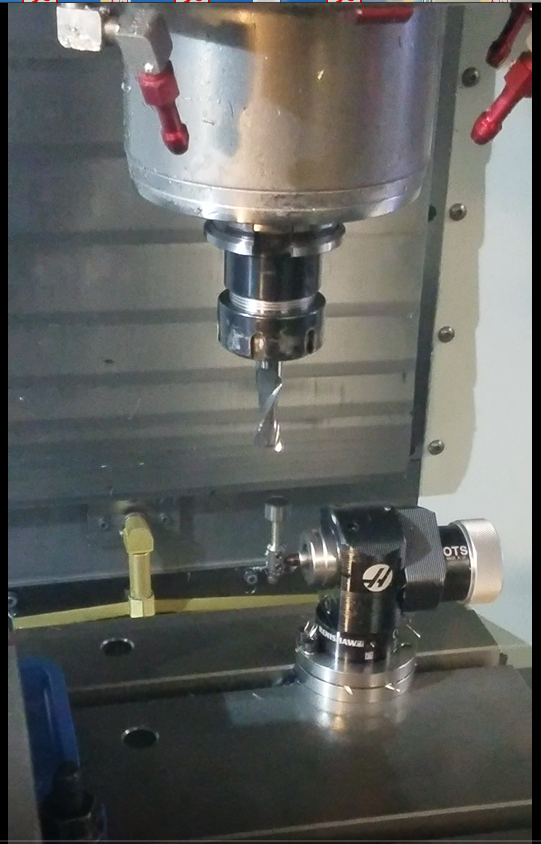
We use our intuitive probing machine on our Vertical machining centers for any tight tolerance items. We can inspect within .0002 using the probes during the machining process. We set probing routines inside our NC programs to have in sequence inspection to check that diameters of holes, distances between holes, or distances from an indicated position are correct. We inspect every part inside a run if there is a tight tolerance specified. We can work with all kinds of tolerances, and know how to identify what the tolerance is if using machining tolerances (Ex h6, h12, g6, H1, f6, f7, etc.). Please mark your prints with the specific tolerance needed, as it will help expedite the quoting process.
Our intuitive Haas probing machine uses a Ruby 6MM Stylus, and can measure within .0002. We check and calibrate our probes on a weekly basis to ensure their measurement is correct. The probe can also be used to measure exact locations of machined features, we do most of our inspection during manufacturing.
All of our tools are touched off using the Intuitive Haas Tool Setter. This ensures that our cutters are accounting for any wear that may show on them. The accuracy is within .0002, and our machines are set up to automatically calculate and adjust for the wear on the tools

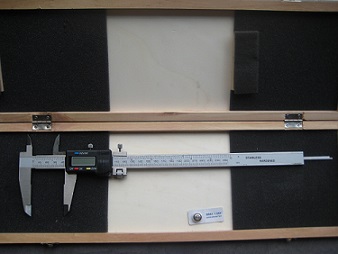
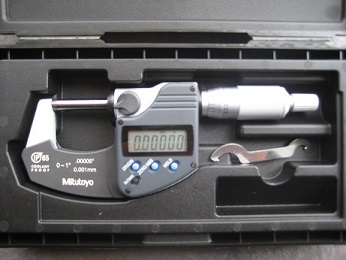
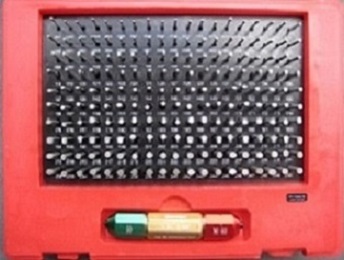
We use standard measuring equipment for normal tolerances (+.005/-.005). We also use these tools to verify that our probes and tool setters are calibrated correctly on a weekly basis.


